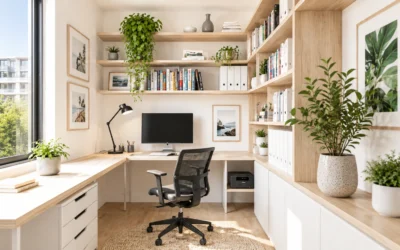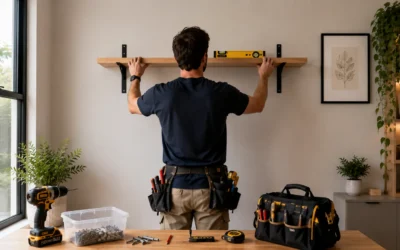
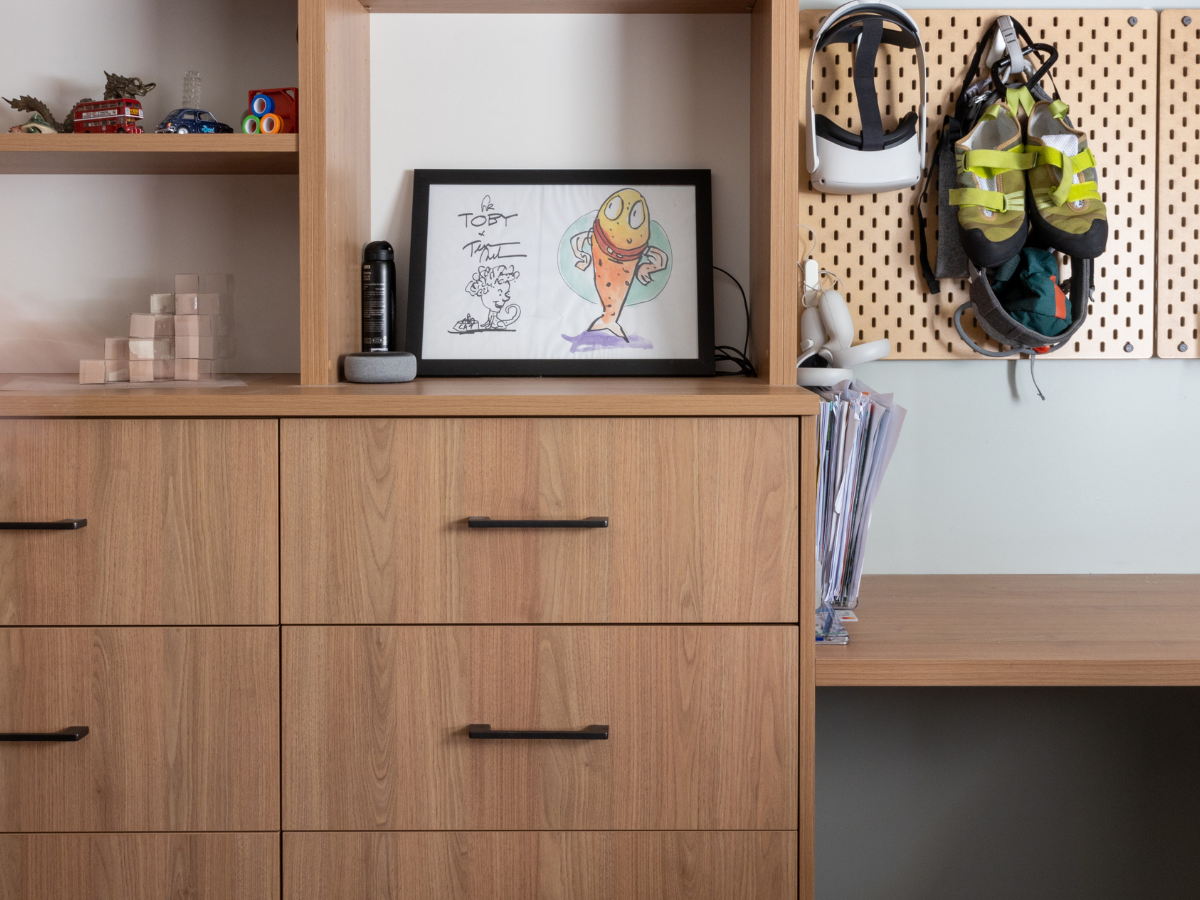
A hallway study nook converts an overlooked corridor into a dedicated, functional workspace without requiring a spare room or major renovation. With the right furniture, lighting, and storage, even a narrow hallway can support focused work, study, or creative projects.
Key Takeaways
- Hallway study nooks are one of the most practical ways to reclaim dead space in a home without major structural changes.
- Low-traffic positioning is the single most important factor when choosing your corridor location.
- A slim console table or a built-in desk alcove can fit comfortably in hallways as narrow as 90 centimetres wide.
- Concealed storage solutions keep the nook tidy and prevent the corridor from feeling cluttered.
- Good task lighting compensates for hallways that lack direct natural light.
- Australian homes with dedicated work-from-home setups are seeing measurable improvements in both productivity and property appeal.
Why Hallways Are Underrated as Work Zones
Most Australian homes treat the hallway as a passageway rather than a room. That mindset is shifting. According to data tracked across the interior design market, there has been a 27% increase in home design investment over the past six years, driven largely by remote work setups and a growing desire to make every square metre count. As Healthdirect Australia notes on home ergonomics and workspace wellbeing, poor workspace arrangements contribute to physical strain, so finding a genuinely quiet, dedicated spot matters more than most people realise.
Hallways tend to offer a few underappreciated advantages as workspaces. They are usually quieter than living areas, physically separate from high-distraction zones like the kitchen or lounge, and they often have underutilised wall space that is ideal for built-in joinery. The challenge is working within the constraints of a narrow footprint, low or indirect natural light, and the need to keep the corridor itself functional for foot traffic.
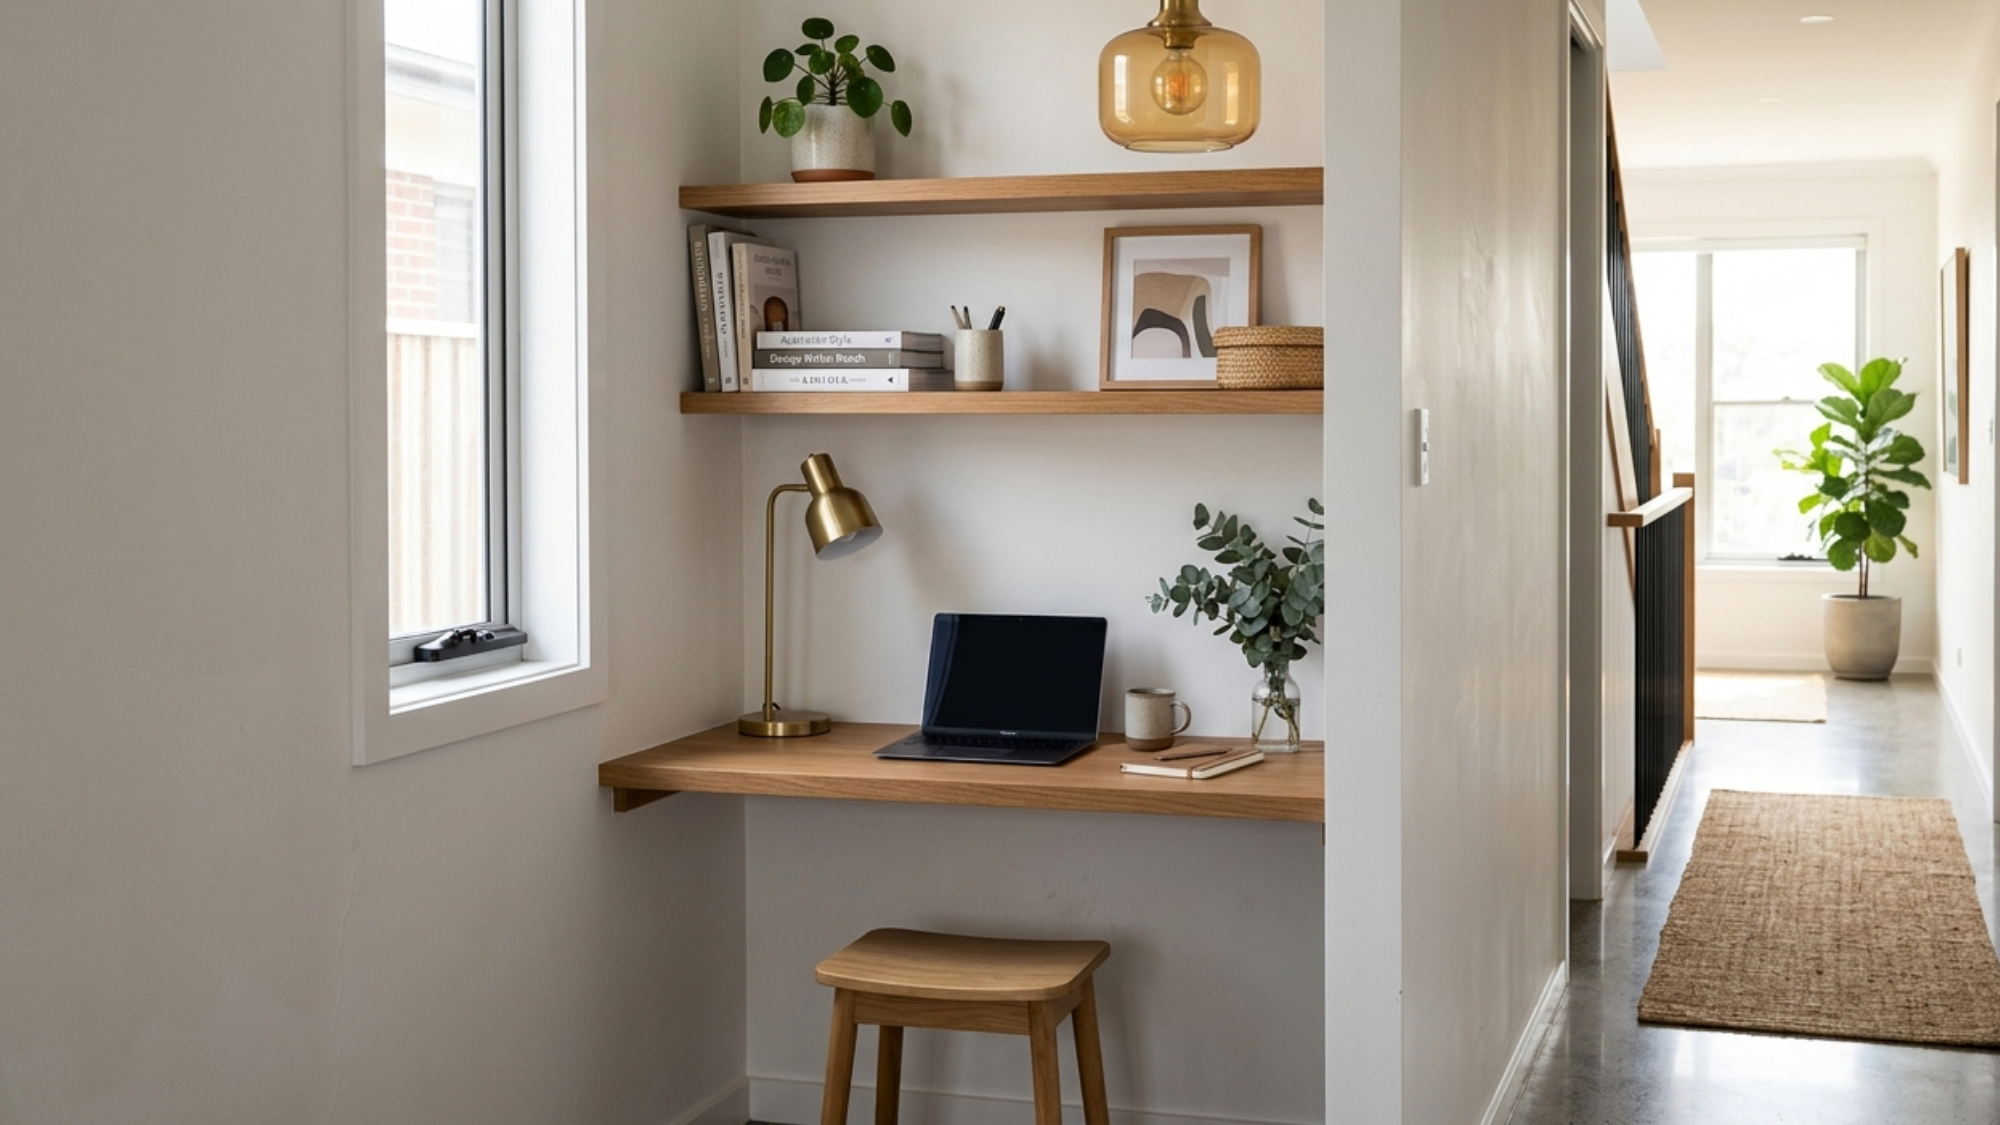
Interior designers in 2025 and 2026 are increasingly talking about creating intentional “moments” within a home, small, purposeful spaces that carry genuine design impact without requiring scale. A corridor study space fits this philosophy perfectly. It is not about carving out a grand home office. It is about making a deliberate, well-considered nook that does exactly one job, and does it well.
Choosing the Right Spot in Your Corridor
Not all hallways are equally suited to a study nook, and location is the most critical decision you will make. The best corridor study space sits away from the front door, away from the kitchen, and ideally at a dead end or widened section of the hall. Traffic flow is your first concern. If people are walking past you every few minutes, the space will not support focused work regardless of how well it is fitted out.
Key factors to assess before committing to a location:
- Traffic volume: Choose the quietest stretch of corridor in your home.
- Natural light: North-facing hallways in Australian homes receive the most consistent daylight. South-facing corridors may need stronger artificial task lighting.
- Power access: Proximity to existing power points reduces the cost of adding a hallway workstation.
- Width clearance: Australian building standards recommend a minimum 1 metre of clearance in corridors for safe movement. A desk setup should leave at least this much free passage alongside it.
- Noise proximity: Distance from televisions, kitchen appliances, and outdoor street noise all affect how usable the space will be.
The ABC News feature on working from home in Australian households has highlighted how the physical environment directly shapes work quality, reinforcing why proper placement is not a minor detail.
Furniture and Joinery Options for a Hallway Nook
Once you have your location, the next decision is what you put in it. Furniture choices for a niche study area fall into two broad categories: freestanding pieces and built-in joinery.
| Option | Best For | Width Needed | Cost Range (AUD) |
|---|---|---|---|
| Slim console table | Renters, quick setups | From 30 cm deep | A$150 to A$600 |
| Floating wall desk | Compact fixed spaces | From 35 cm deep | A$300 to A$900 |
| Built-in desk alcove | Permanent, polished result | From 45 cm deep | A$1,500 to A$5,000+ |
| Fold-down wall desk | Minimal footprint needed | From 25 cm deep | A$200 to A$800 |
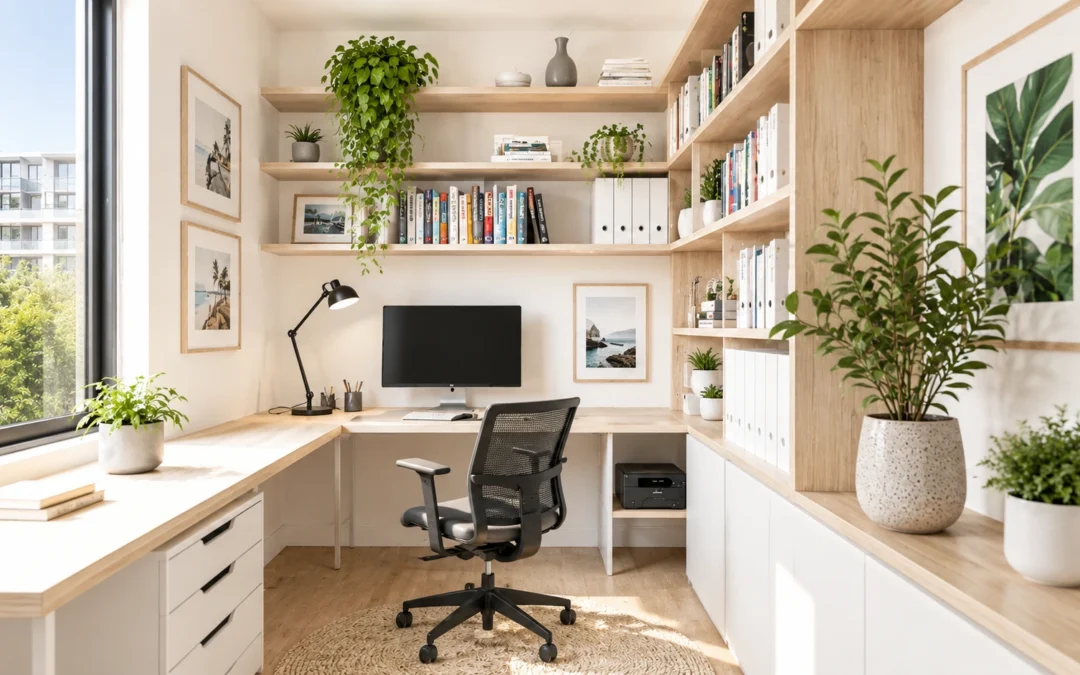
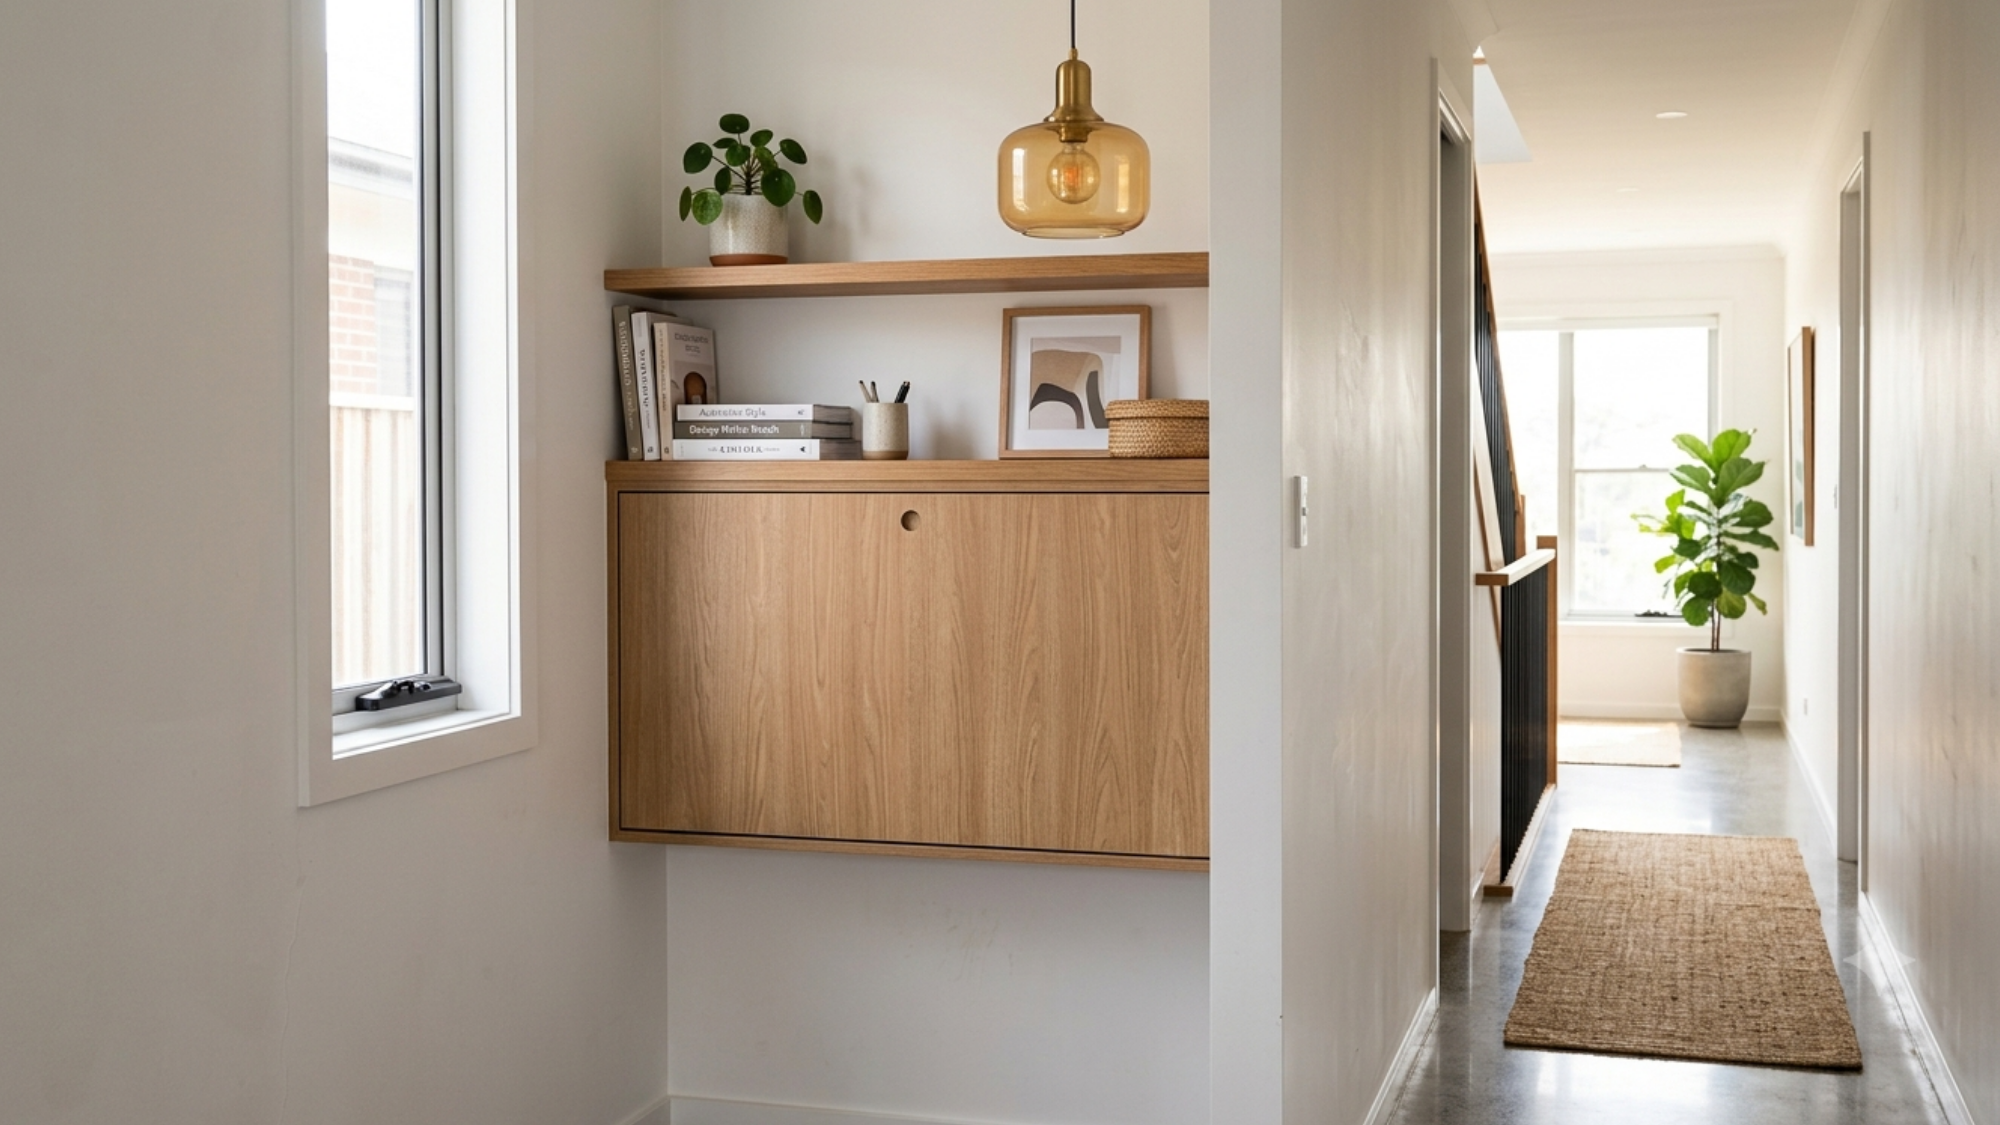
A slim console table is the most accessible starting point, fitting into hallways as narrow as 90 centimetres without major commitment. For a more permanent and polished result, a built-in desk alcove integrates seamlessly with the wall, maximises storage, and adds measurable value to the home.
When selecting desks for a hallway setting, prioritise depth over width. A desk that is 35 to 45 centimetres deep is sufficient for a laptop setup and feels proportionate in a narrow corridor, while anything deeper will encroach on the walkway.
Storage and Concealment Strategies
One of the most common mistakes in a hallway built-in desk setup is underestimating storage needs. Without adequate organisation, a corridor nook quickly becomes a dumping ground for cables, paperwork, and office supplies, which clutters the passage and defeats the purpose.
Effective storage approaches for corridor workspaces include:
- Floating shelves mounted above the desk to keep the floor clear.
- Integrated cable management channels built into the desk or wall cavity.
- Sliding or pocket doors that conceal the entire nook when not in use, keeping the hallway looking tidy for guests.
- Shallow drawers for stationery and small items.
- A pinboard or magnetic panel mounted to the wall instead of freestanding accessories.
The concept of concealed nooks, study areas that disappear behind joinery when not in use, is one of the most searched design solutions among Australian homeowners fitting out smaller properties. If you want a sense of what refined, functional concealment looks like in practice, the gallery at Almara Cabinets shows a range of built-in storage and workspace solutions that translate well to corridor settings.
Lighting a Hallway Workstation
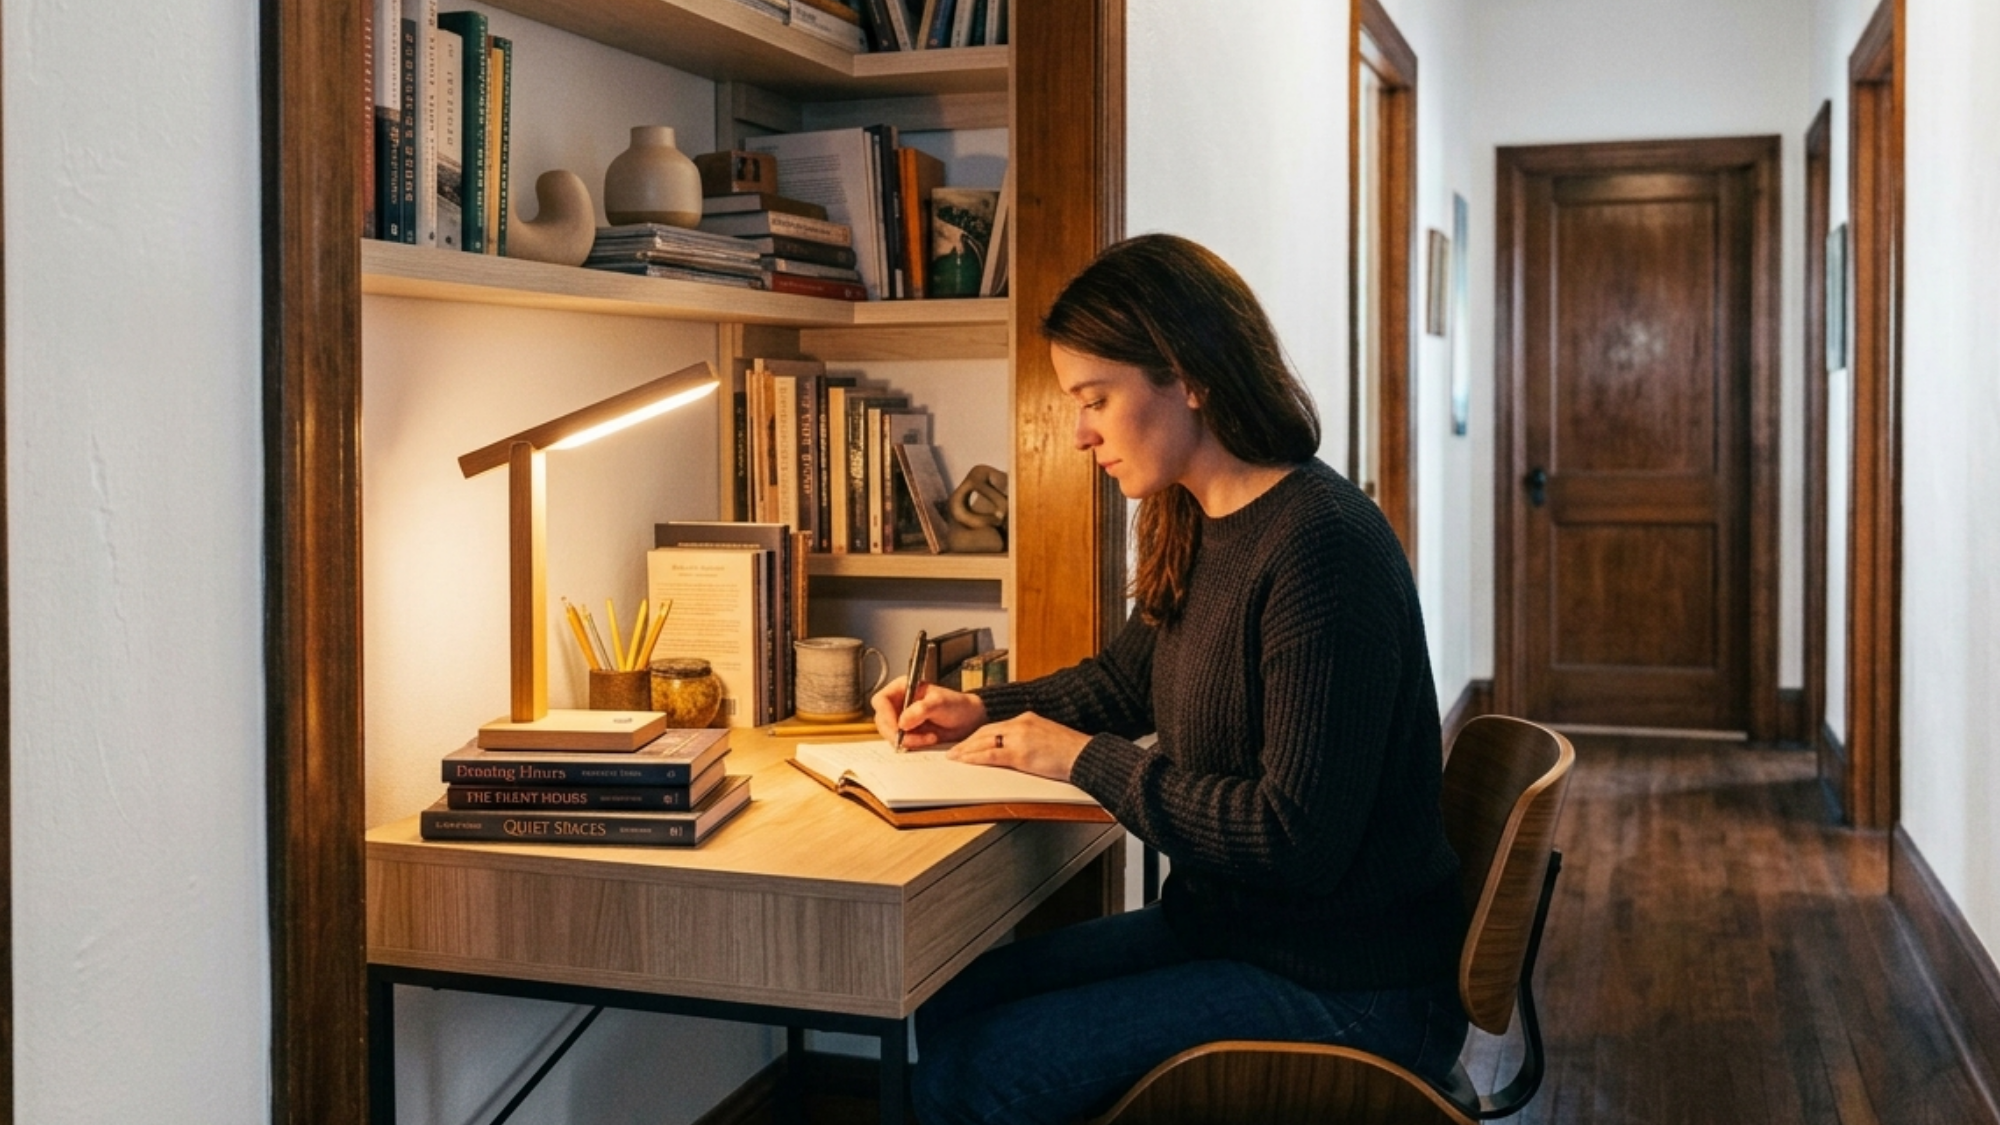
Lighting is where many hallway study nooks fall short. Corridors are architecturally designed to channel movement, not support sustained visual tasks, so they frequently lack adequate illumination for desk work.
A layered lighting approach works best:
- Task lighting: A focused desk lamp or a recessed LED downlight aimed at the work surface is non-negotiable.
- Ambient lighting: A small pendant or wall sconce adds warmth and prevents the space from feeling like a utility cupboard.
- Natural light maximisation: If a window or skylight is within proximity, position the desk to benefit from it without creating screen glare.
The CHOICE Australia guide to home lighting recommends a minimum of 500 lux for desk-based tasks, which is significantly more than most hallway fittings produce by default. Budget for additional lighting at the design stage rather than retrofitting later.
Things to Know
- Hallways with a minimum width of 1.2 metres are the most practical candidates for a hallway study nook without compromising movement.
- Built-in solutions almost always add more resale value than freestanding furniture in the same position.
- Acoustic panels or a small rug can reduce echo in hard-floored corridors, making them more comfortable for calls and focused work.
- If you rent, a freestanding fold-down desk and removable hooks cover most storage needs without damaging walls.
- Colour choice matters: lighter walls make a nook feel less enclosed, while darker tones can create the “jewel box” intimacy that current design trends are leaning toward.
The Bottom Line on Hallway Study Nooks
A well-designed hallway study nook can genuinely transform how a home functions, creating a productive, quiet work zone from space that would otherwise do nothing. The keys are choosing a low-traffic corridor position, selecting furniture or joinery proportionate to the available width, and investing in proper task lighting from the start.
If you are ready to explore a built-in solution tailored to your corridor, Almara Cabinets brings over 30 years of experience and more than 30,000 installations across Melbourne to every project. Read more about us to understand the team behind the work, or contact us to book a free design consultation, measure, and quote. Call the team directly on (03) 9034 6159 to get started.
Frequently Asked Questions
Q: How much does a luxury walk-in wardrobe cost in Australia?
Costs vary widely depending on size, materials, and complexity, but a fully custom luxury walk-in wardrobe in Melbourne typically starts from around A$8,000 and can exceed A$30,000 for large, feature-rich installations.
Factors that drive cost include ceiling height, the number of drawers and accessories, hardware quality, and whether an island bench is included. Getting a detailed quote from a specialist cabinetmaker like Almara is the most accurate way to establish your budget.
Q: What is the minimum room size for a walk-in wardrobe?
A functional single-person walk-in wardrobe needs at least 2.5 metres by 2.5 metres of clear floor space.
This allows for cabinetry on two or three walls with enough room to move comfortably. Couples sharing the space should plan for at least 3 metres by 3 metres to avoid it feeling cramped.
.
Q: Can a walk-in wardrobe add value to my home?
Yes, a well-designed walk-in wardrobe can return approximately 50–60% of its cost in added property value.
In competitive Melbourne markets, quality storage is a strong selling point. Buyers increasingly treat a thoughtfully designed wardrobe as a premium feature rather than a standard inclusion.
Q: What lighting works best inside a walk-in wardrobe?
Warm-tone LED strip lighting at around 2700–3000K is ideal for walk-in wardrobes because it accurately renders clothing colours without harsh shadows.
Motion-activated strips on shelves and hanging sections are practical additions. Avoid cool white LEDs above 4000K, as they can make colours appear washed out when selecting outfits.
Q: How long does it take to install a custom walk-in wardrobe?
Most custom walk-in wardrobe installations take between two and five days from delivery to completion, depending on size and complexity.
The design and manufacturing lead time before installation typically runs from four to eight weeks, so it pays to plan ahead, particularly if you are working around a renovation schedule or a property settlement date.