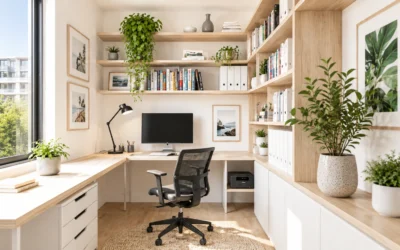
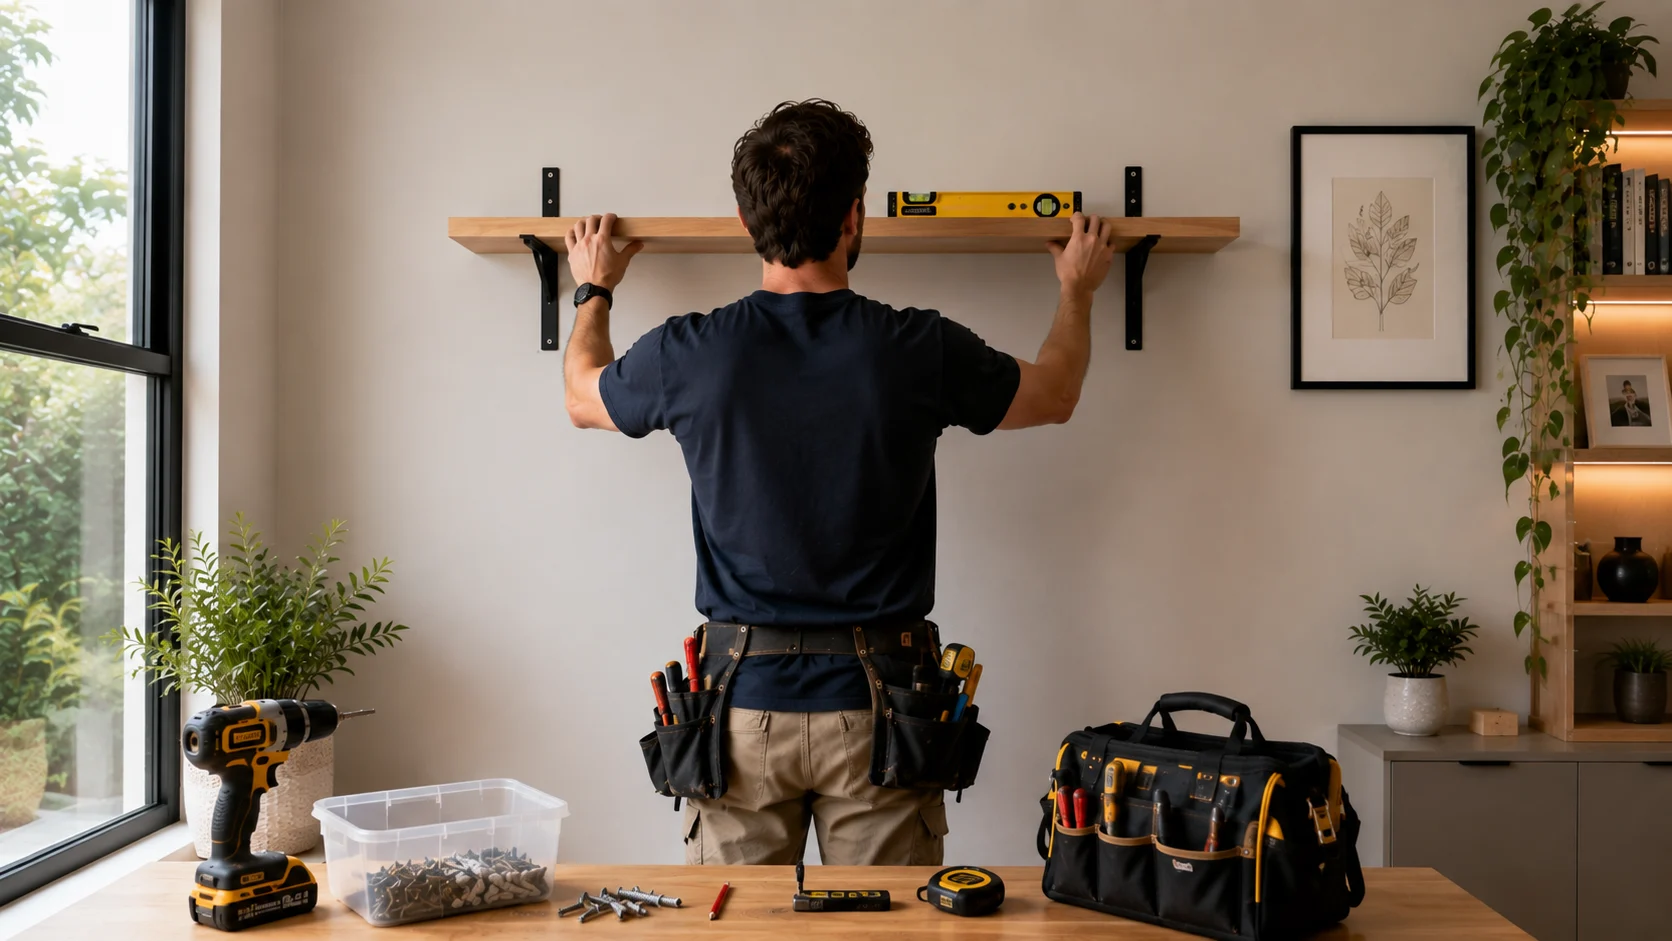
Floating bookshelves are wall-mounted shelves with no visible brackets underneath, giving your room a clean, modern look while keeping floor space free. You can install a basic DIY floating shelf in a couple of hours with the right tools, the right wall, and a bit of patience.
Key Takeaways
- Anchoring into wall studs is the single most important factor for a safe, load-bearing floating bookshelf.
- A properly stud-mounted shelf can hold between 14 and 23 kg, while drywall-only anchors max out at around 7 to 11 kg.
- A shelf depth of 15 to 20 cm suits most books without creating an awkward protrusion into the room.
- Solid wood and metal shelves outperform MDF and glass when it comes to weight capacity.
- If your wall layout, ceiling height, or electrical requirements make the job complicated, a professional saves you time and protects your walls.
- For a fully custom, built-in look, a cabinetry specialist like Almara Cabinets will deliver results that a flat-pack shelf simply cannot match.
What You Need Before You Pick Up a Drill
Before you touch a wall, spend ten minutes getting your materials together. A rushed start is the number one reason floating shelves end up crooked, sagging, or pulling out of the wall six months later.
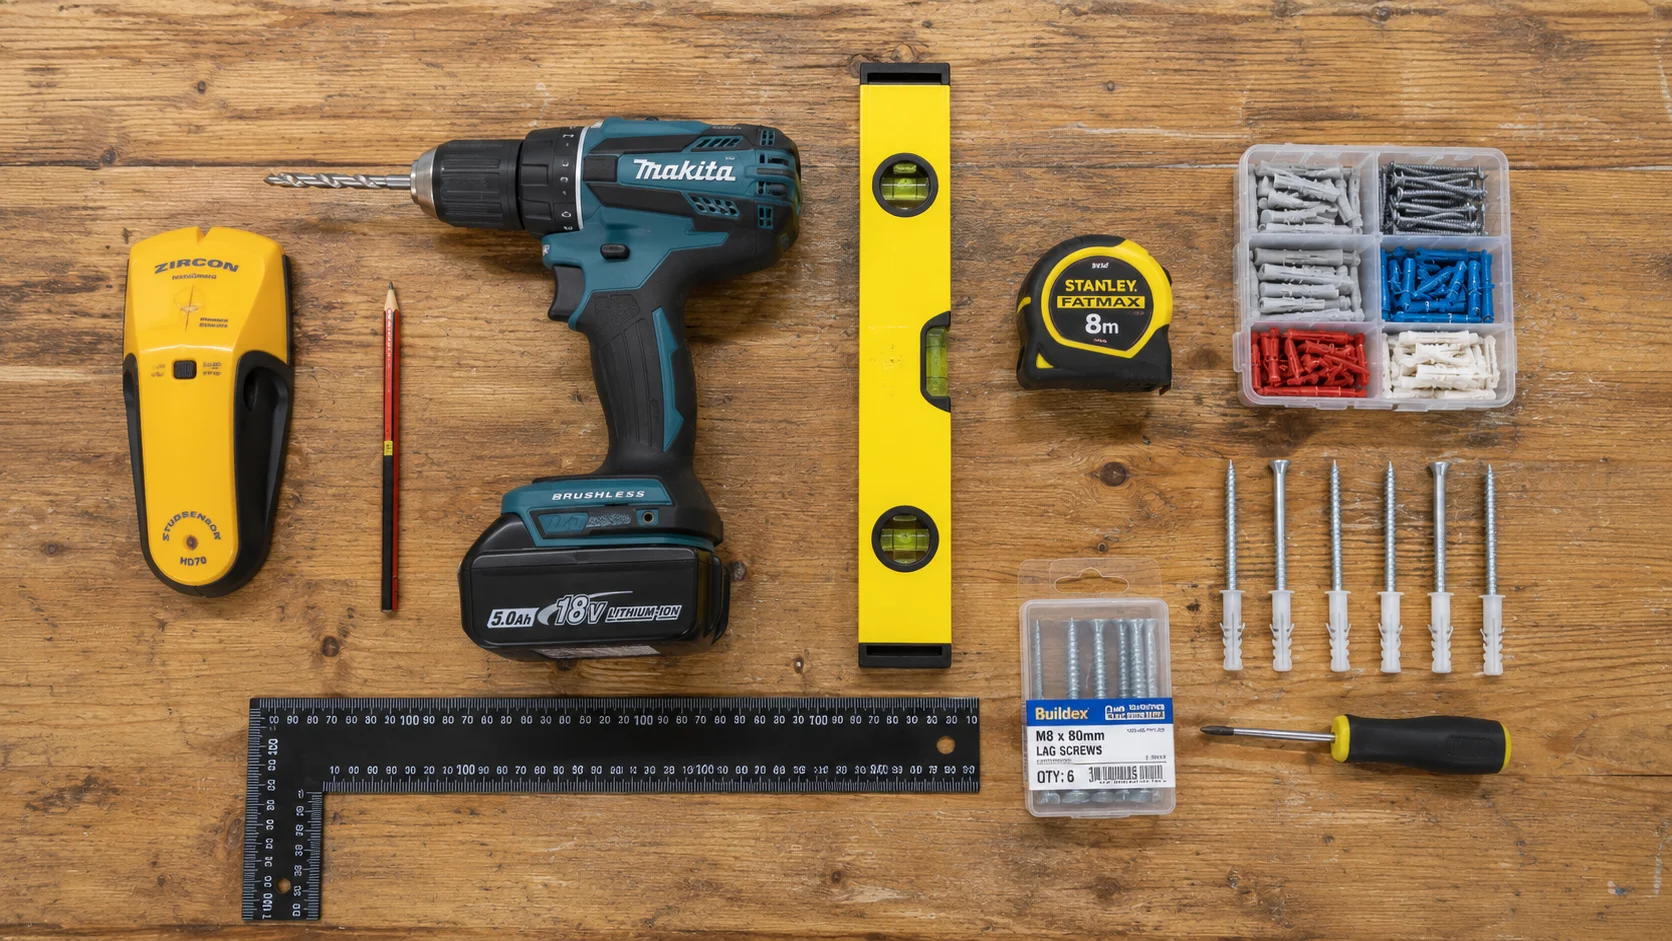
Here is what you will need:
- Stud finder
- Tape measure
- Pencil and painter’s tape
- Spirit level or laser level
- Power drill and drill bits
- Appropriate wall anchors or screws (more on this below)
- Floating shelf brackets or a rod-style hidden bracket system
- The shelf itself (timber, MDF, plywood, or a pre-made board)
When it comes to shelf depth, aim for 15 to 20 cm. That is deep enough to stand most paperbacks and hardcovers upright, but shallow enough that you will not be ducking under it every time you walk past. According to Shelfology’s floating shelf installation guide, the sweet spot for book storage is right in that 15 to 20 cm range, and you can find similar solutions with bookshelves specialists.
Step-by-Step: How to Make Floating Bookshelves
This is the fun part. Follow these steps carefully and your shelves will look sharp and stay put.
Step 1: Plan Your Layout on the Wall
Cut strips of painter’s tape to the exact length and rough height of where each shelf will sit. Step back and live with the layout for a day. You might realise you want the shelf 10 cm higher, or that you need two shelves instead of one. This five-minute step saves a lot of unnecessary holes.
Step 2: Find Your Studs
Run your stud finder slowly across the wall at the height of your planned shelf. Mark the centre of each stud with a pencil. In most Australian homes, studs are spaced at either 450 mm or 600 mm apart. If you are working with brick or masonry, you will use different anchors, but the principle is the same: you need solid material, not just the plaster or render surface.
Step 3: Mark a Level Line
Use your spirit level or laser level to draw a faint horizontal line where the top of your bracket or rod will sit. Even a 2 mm slope is visible once books are on the shelf, so take your time here.
Step 4: Drill Pilot Holes
Drill pilot holes at your marked stud positions. If your studs are not perfectly aligned with your planned shelf position, you have two options: shift the shelf slightly, or use heavy-duty wall anchors rated for your expected load. For anything beyond light decorative items, hitting the studs is strongly recommended.
Step 5: Install Your Brackets or Hidden Rods
For the classic no-bracket look, you will want a rod-style hidden bracket system. These involve horizontal metal rods screwed into the wall, which then slide into corresponding holes drilled through the back of the shelf. This step-by-step floating shelf installation walkthrough from Living Spaces has a solid visual breakdown of how these rod systems work. Tighten everything firmly and double-check with your level before moving on.
Step 6: Slide On the Shelf and Secure It
Slide the shelf board onto the rods (if using a rod system) or rest it on the brackets. Some shelves have a locking screw on the underside to stop any forward movement. Use it. If you are building your own shelf from scratch using plywood or solid timber, this DIY floating bookshelf build guide from The Woodworking Wonders walks through cutting, drilling, and finishing in good detail, much like professional bookshelves melbourne installations.
Step 7: Load Test Before You Load Up
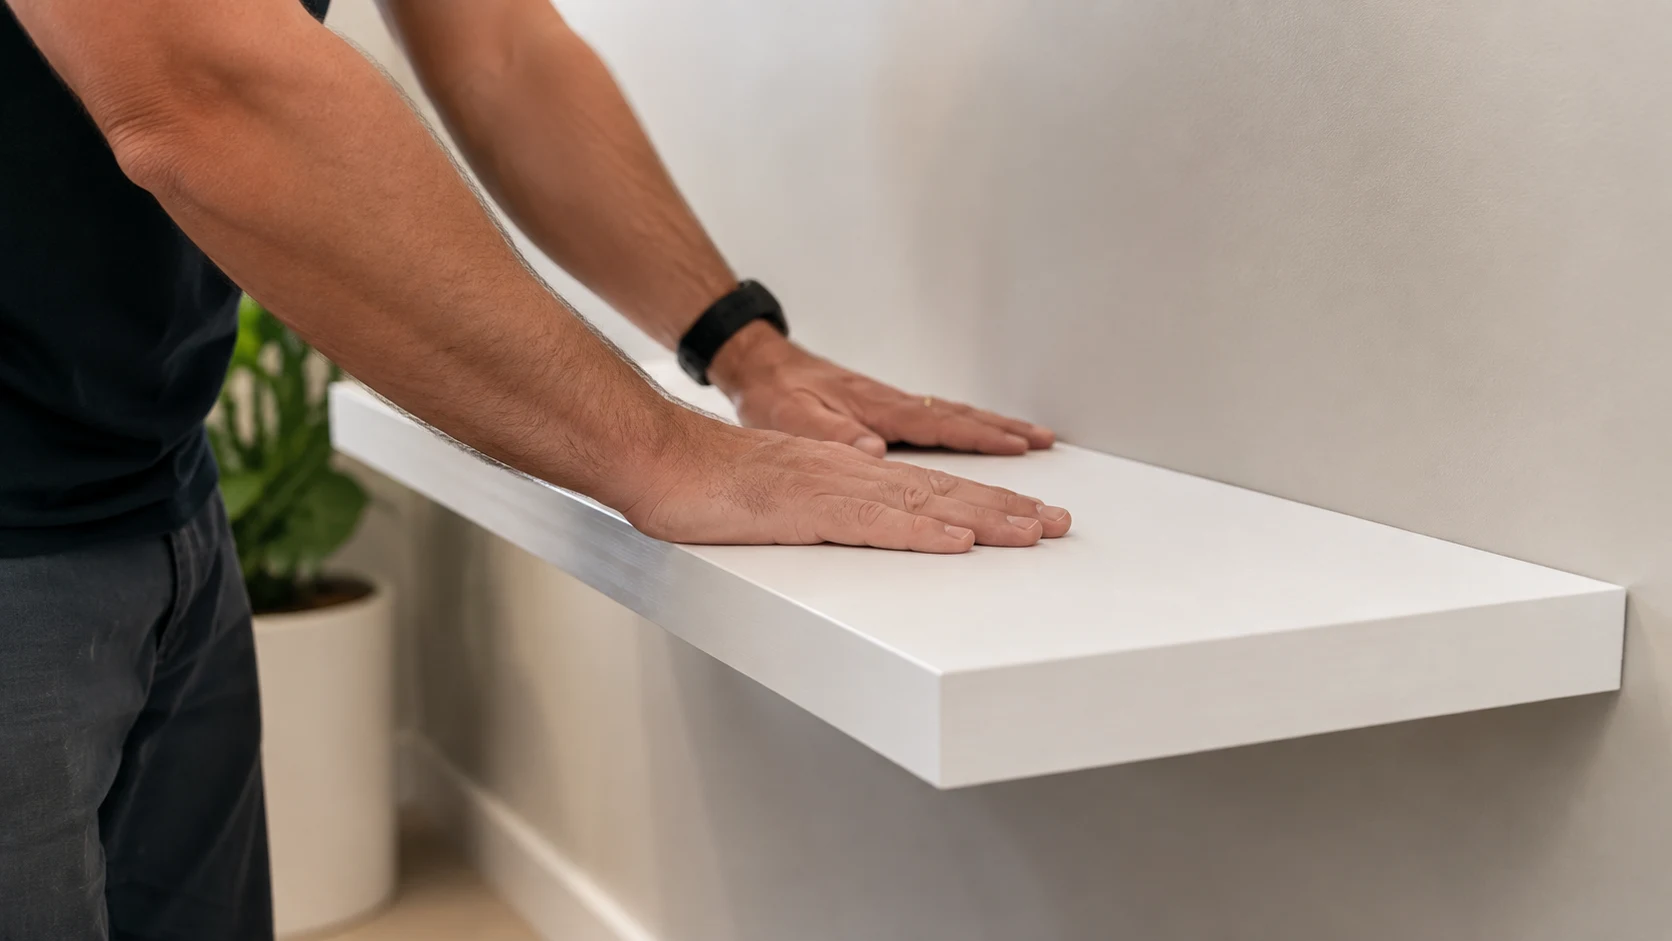
Before you stack every book you own onto the shelf, apply gentle downward pressure to test for any wobble or give. If there is any movement, remove the shelf and recheck your fixings. A shelf that wobbles empty will not improve with 15 kg of hardcovers on it.
Weight Capacity: The Number Most DIYers Get Wrong
This is where a lot of otherwise decent DIY jobs go wrong. Understanding the weight capacity floating shelf calculations involve is not optional if you are planning to store anything heavier than a few ornaments.
Here is a simple breakdown:
| Mounting Method | Approximate Weight Capacity |
|---|---|
| Screws into drywall only (no stud) | 7 to 11 kg |
| Screws into timber studs (2 points) | 14 to 23 kg |
| Steel rod system into studs | 23 to 45 kg |
| Masonry anchors into brick wall | 20 to 40 kg+ |
Material also matters. Solid hardwood and steel shelves can generally handle 23 kg or more, while MDF and glass are better suited to lighter loads, typically 7 to 14 kg. There is also a physics consideration: the deeper the shelf, the more leverage any weight exerts on the mounting point, which means a 30 cm deep shelf requires stronger fixings than a 15 cm deep one for the same load. The team at South House Designs covers this lever-effect principle in their floating bookshelf installation post.
A full set of bookshelves in a home library can weigh significantly more than people expect. A standard hardcover book weighs around 500 g to 800 g. If you are fitting a single 1.2 m shelf with books three rows deep, you could easily be looking at 20 to 25 kg on one shelf.
When to Call a Professional (Honestly)
There is a clear line between a satisfying weekend project and a job that genuinely calls for expert hands. Here is how to know which side of that line you are on.
Call a professional when:
- Your studs are not where you need them, and adding structural blocking is required.
- You want an integrated lighting system within the shelves (this involves electrical work, which in Australia must be completed by a licensed electrician under Australian Standards).
- Your ceiling height is over 2.4 m and you need shelves installed at height.
- You want floor-to-ceiling or wall-to-wall shelving that needs to be perfectly flush and structurally integrated.
- You are working with heritage or rental properties where wall damage must be minimised.
- You have tried once and the result was not what you hoped for.
A handyperson in Melbourne typically charges between A$100 and A$1000 for a standard floating shelf installation, depending on complexity and the number of shelves involved. That cost is worth it when the alternative is a shelf full of books falling off the wall and taking a chunk of plaster with it.
For anyone considering a full home library, study wall, or living room feature shelf, a custom cabinetry specialist is worth a serious look. If you want inspiration before committing to anything, check out the gallery on Almara Cabinets’ website to see what a professional installation looks like at scale.
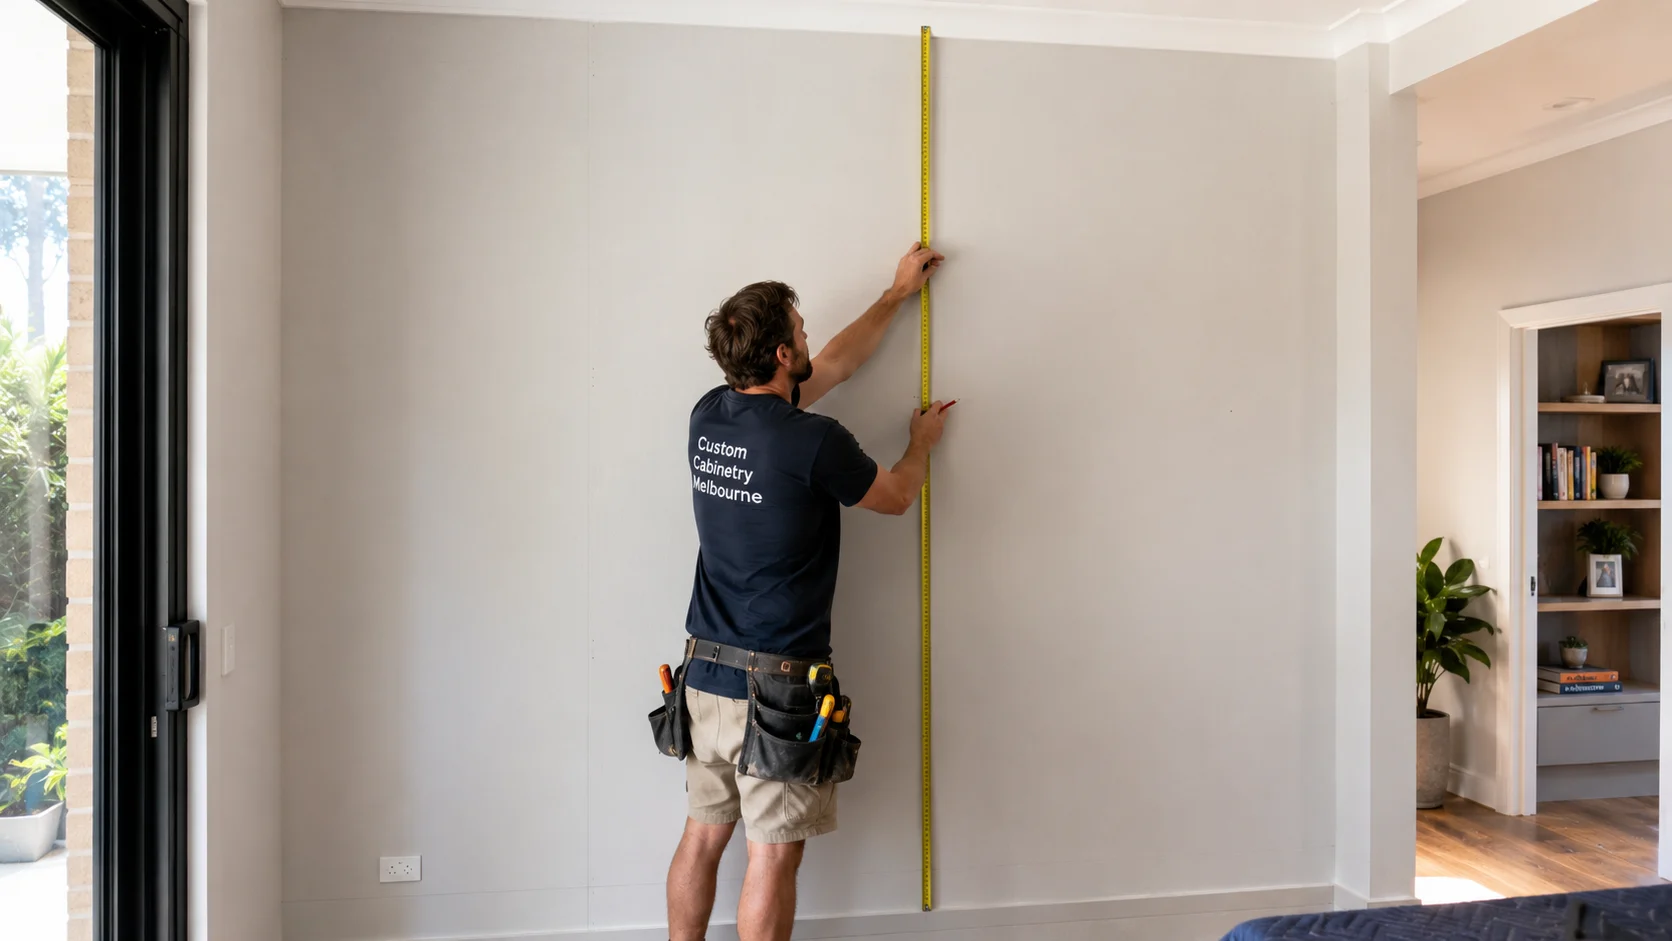
Things to Know
- Painter’s tape is your best friend before you drill. Mark out your full shelf layout and sit with it for a day before committing.
- Most floating shelf failures happen not because of the shelf itself, but because of inadequate fixings into the wall.
- In Australian rental properties, you are generally required to patch and repair any wall holes when you leave, so factor in the cost of touch-up plastering and painting.
- MDF is affordable and looks good painted, but it is heavier than solid timber per metre and has lower screw-holding strength.
- If you are installing shelves in a bathroom or laundry, use moisture-resistant materials and hardware to avoid rust and warping over time.
- A single stud anchor point is not enough for shelves longer than 60 cm. Aim for two stud connections minimum.
Custom Built-In Bookshelves vs. DIY Floating Shelves
If you have ever walked into a room with a floor-to-ceiling built-in bookshelf and felt immediately envious, you already understand why people eventually make the jump from DIY to custom. A DIY floating shelf is a great solution for a handful of books or a few display items. But there is a ceiling (no pun intended) on what self-installation can achieve.
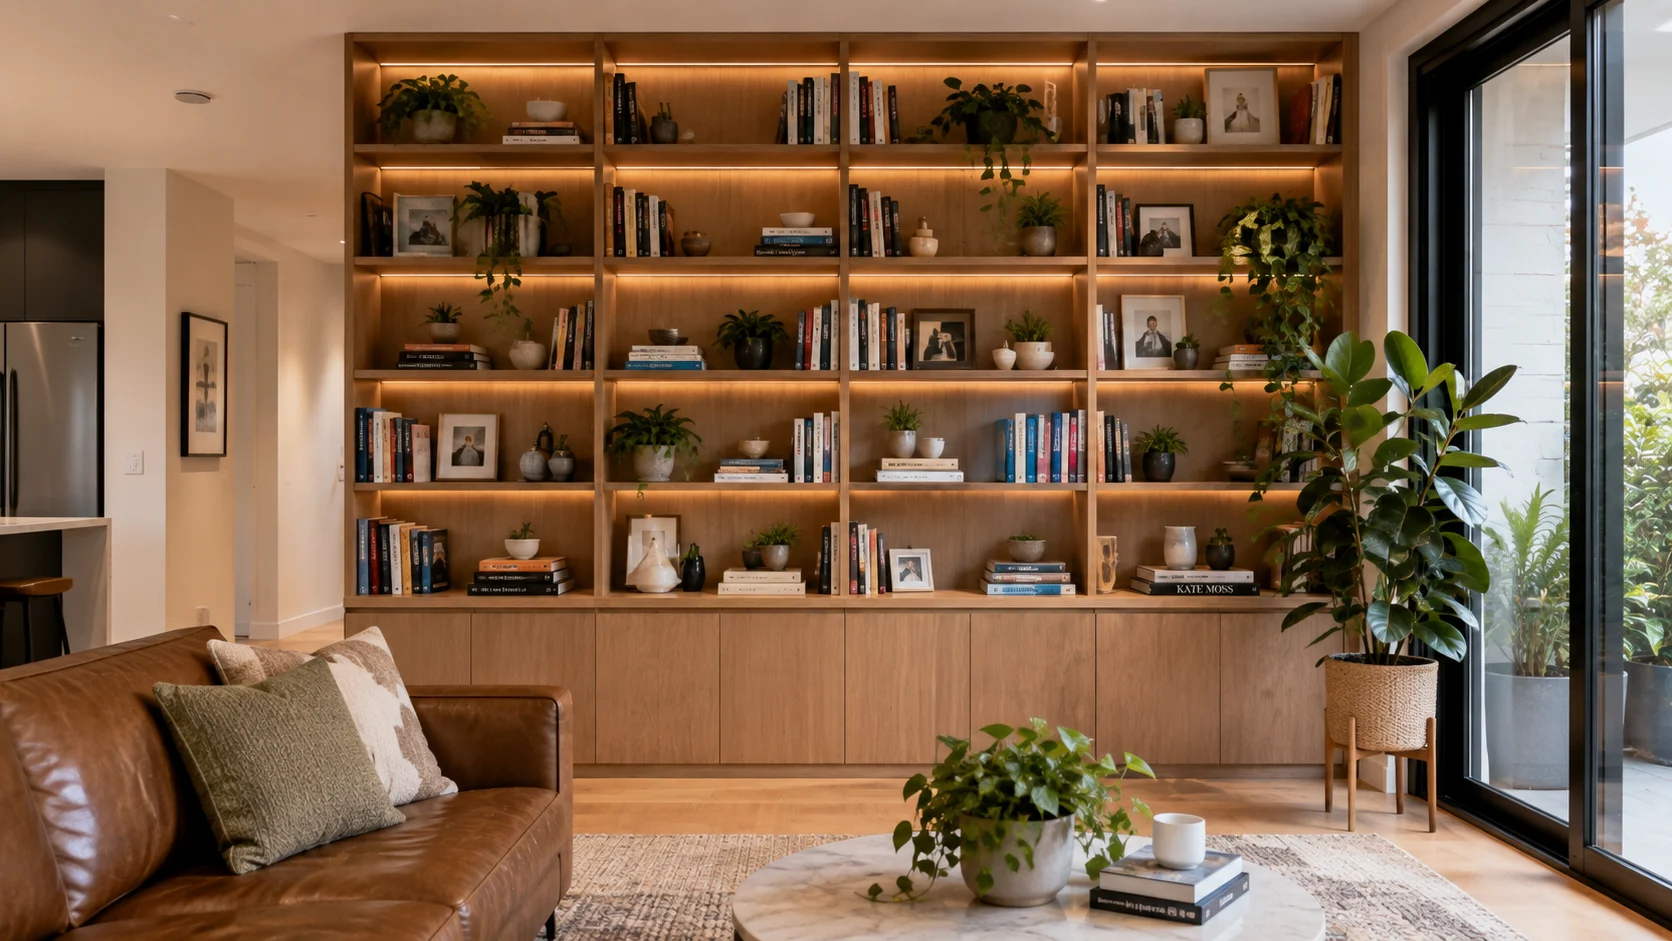
Custom-built bookshelves, like those offered through bookshelves melbourne specialists at Almara Cabinets, are designed to fit your exact wall dimensions, your ceiling height, and your personal storage needs. They use full structural fixings, quality materials, and professional finishing. The result is a shelf system that looks like it was always part of the house, because in every practical sense, it is.
With over 30 years of experience and 30,000 installations across Melbourne, Almara Cabinets has seen every wall type, every room size, and every wishlist. Whether you need a compact study nook or a dramatic double-height library wall, bookshelves solutions from a specialist team deliver the kind of result that a flat-pack shelf cannot replicate.
For further reading on design principles and material choices, healthdirect.gov.au is not relevant here, but the ABS data on Australian home ownership and dwelling types gives useful context on how Australians are using their living spaces, including increasing demand for study and home library spaces in the post-2020 period.
The Bottom Line on How to Make Floating Bookshelves
Learning how to make floating bookshelves is genuinely achievable for a confident DIYer with the right tools and a solid wall to work with. Follow the steps, respect the weight limits, and take the time to find your studs. Done correctly, a floating shelf adds storage and style without touching your floor space.
That said, there is a point where the scope, complexity, or desired finish of a project moves beyond what a weekend install can deliver. When that happens, calling a professional is not admitting defeat. It is making a smart decision. Reach out to Almara Cabinets on (03) 9034 6159 or visit the showroom to talk through your options with a team that has been building Melbourne homes for over 30 years.
Frequently Asked Questions
Q: What is the ideal depth for a floating bookshelf?
A depth of 15 to 20 cm works for most standard book sizes.
This range accommodates the majority of paperback and hardcover formats without the shelf sticking out too far into the room. If you are storing oversized art books or box sets, you may want to go up to 25 cm, but always check your wall’s load capacity before doing so.
Q: Can I install a floating bookshelf on a plasterboard wall without hitting a stud?
You can, but your weight capacity drops significantly to around 7 to 11 kg.
For a decorative shelf holding a few light items, plasterboard anchors may be sufficient. For anything holding actual books, always aim to hit at least two studs for a safe, long-lasting install.
.
Q: What type of bracket gives the cleanest look for a floating bookshelf?
A hidden rod or keyhole bracket system gives the most seamless result.
These systems slide rods into pre-drilled holes in the back of the shelf, making the wall appear as though the shelf is floating with no visible support. They are more involved to install but the finish is noticeably cleaner than exposed L-brackets.
Q: How do I know if my floating shelf is about to fail?
Signs include visible sag, a gap opening between the shelf back and the wall, or a creaking sound when the shelf is loaded.
If you notice any of these, remove items from the shelf immediately and inspect the fixings. It is much easier to re-drill and re-anchor an empty shelf than to deal with the aftermath of a failure under full load.
Q: Is it worth getting a custom-built bookshelf instead of a DIY floating shelf?
For a small display shelf, DIY is perfectly fine. For whole-wall or floor-to-ceiling storage, a custom solution adds structural integrity, better materials, and a far superior finish.
The cost difference is real, but so is the difference in durability, appearance, and functionality. Custom shelving is also designed to suit your exact space, which means no awkward gaps, uneven heights, or compromises.