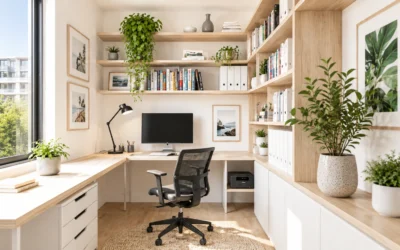
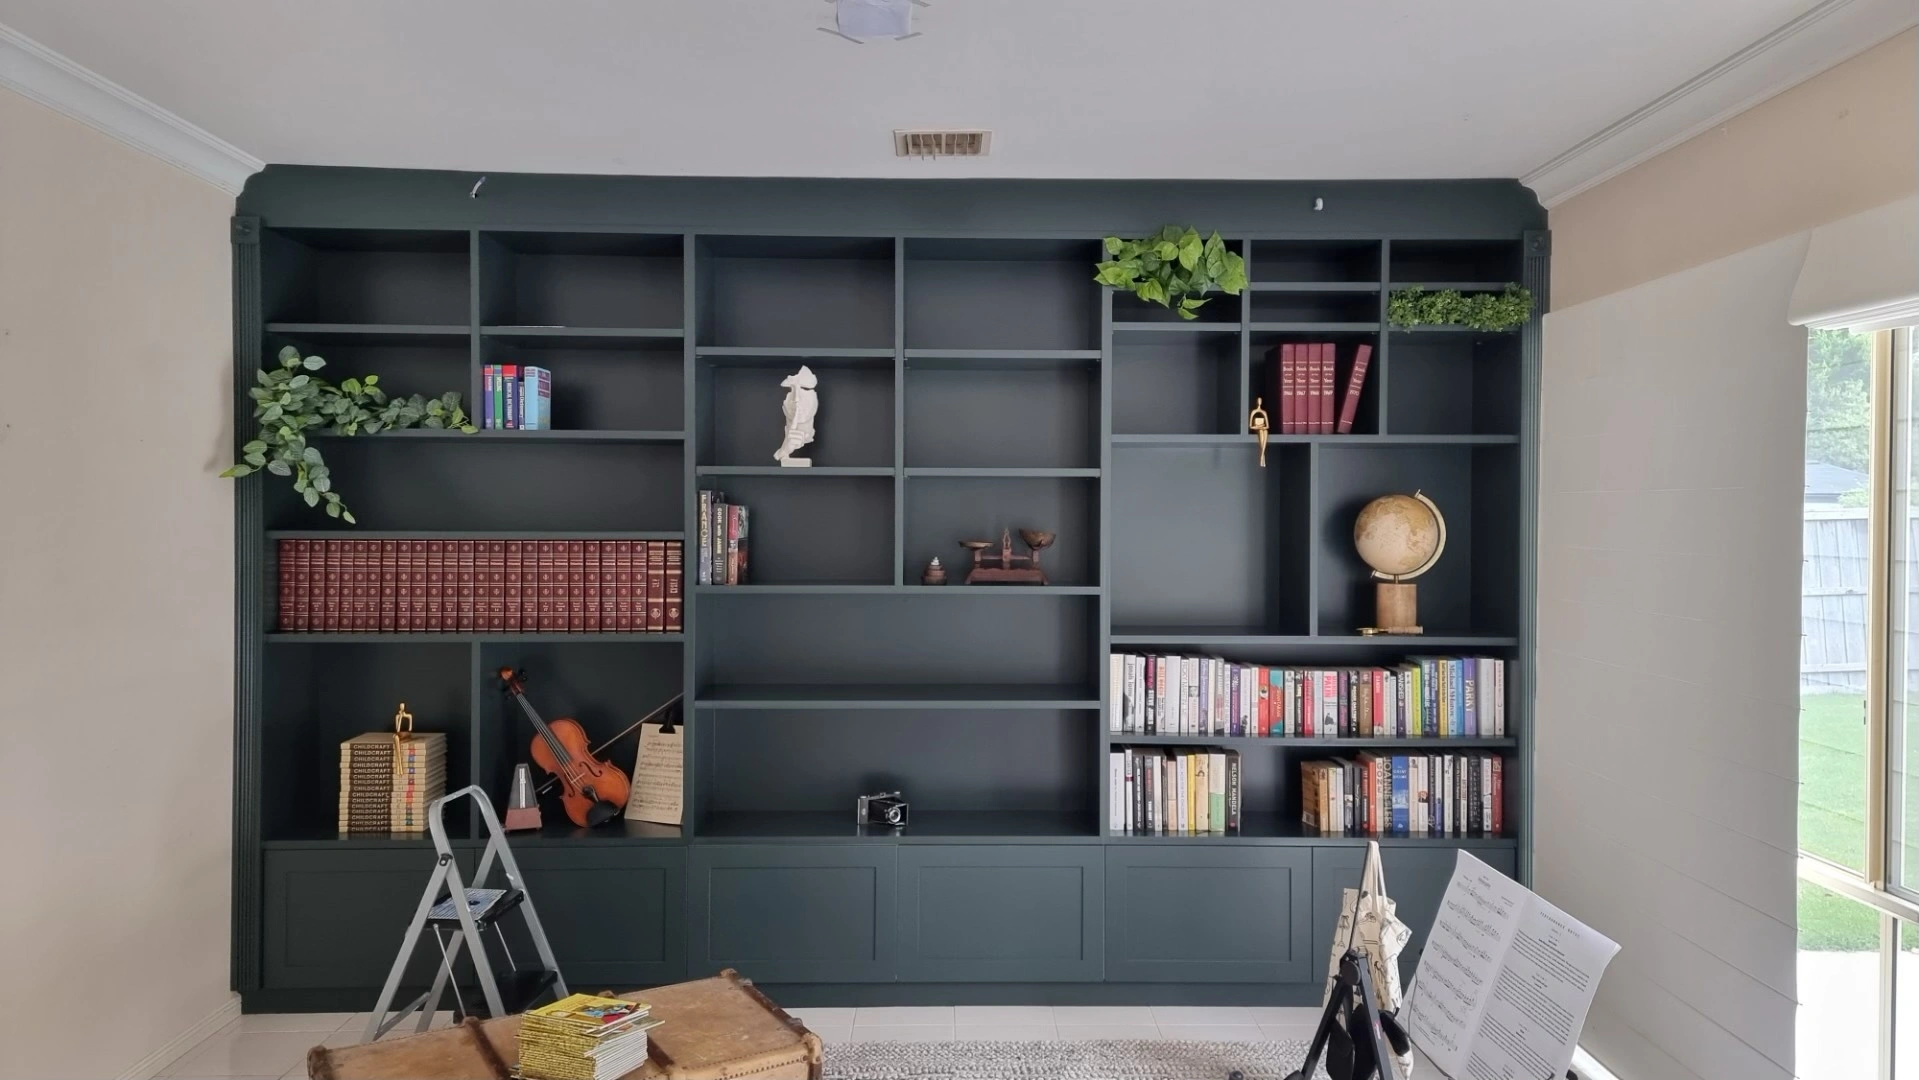
A built-in entertainment unit transforms a living room from a collection of mismatched furniture into a cohesive, purposeful space. Designed well, it conceals cables, houses your devices, and becomes the visual anchor your room has been missing.
Key Takeaways
- Measure your TV and all devices before committing to any layout or cabinetry dimensions.
- Ventilation planning prevents electronics from overheating inside enclosed cabinetry.
- Cable management built into the design, not added as an afterthought, keeps the result looking professional.
- Material choice, whether timber veneer, painted MDF, or a combination, shapes the entire aesthetic of the wall.
- A professionally installed custom entertainment unit can add measurable value to your home at resale.
- Integrated features like charging stations, pull-out trays, and adjustable shelving future-proof your investment.
Why a Fitted Entertainment Wall Outperforms Freestanding Furniture
Freestanding entertainment units shift, wobble, and rarely fit the wall exactly. A custom built-in media centre uses every centimetre of the available space, sits flush to the wall, and can be built around architectural features like alcoves, windows, or fireplaces.
Beyond aesthetics, there is a practical case. According to the Australian Bureau of Statistics, Australian households are spending more time at home than at any point in the past decade, which means living spaces need to work harder. A fitted entertainment wall that integrates storage, display space, and seating-height cabinetry does exactly that.
When you browse wall units for inspiration, you will notice that the best designs share a few consistent qualities: clean sight lines, concealed storage, and proportions that suit the room rather than dominate it.
Step One: Measure Everything Before You Design Anything
This is the step most people skip, and it is the one that causes the most problems. Start with:
- Your TV. Measure the screen width, height, and depth. Allow at least 50mm clearance on each side for ventilation and to avoid a cramped appearance.
- Your devices. Measure your gaming console, set-top box, streaming device, soundbar, and any speakers. Each needs its own dedicated shelf space.
- The wall. Measure floor to ceiling, wall to wall, and note any power points, data ports, or air-conditioning vents that the unit needs to work around.
- Ceiling height. Rooms with ceilings above 2.7 metres can accommodate taller vertical structures that add presence without overwhelming the space.
Once you have your measurements, sketch a rough layout. Think about the ratio of open shelving to closed cabinetry. Open shelving suits decorative items and frequently accessed devices. Closed cabinetry suits routers, gaming controllers, spare remotes, and anything you would rather not see.
Step Two: Choose Your Layout and Functional Zones
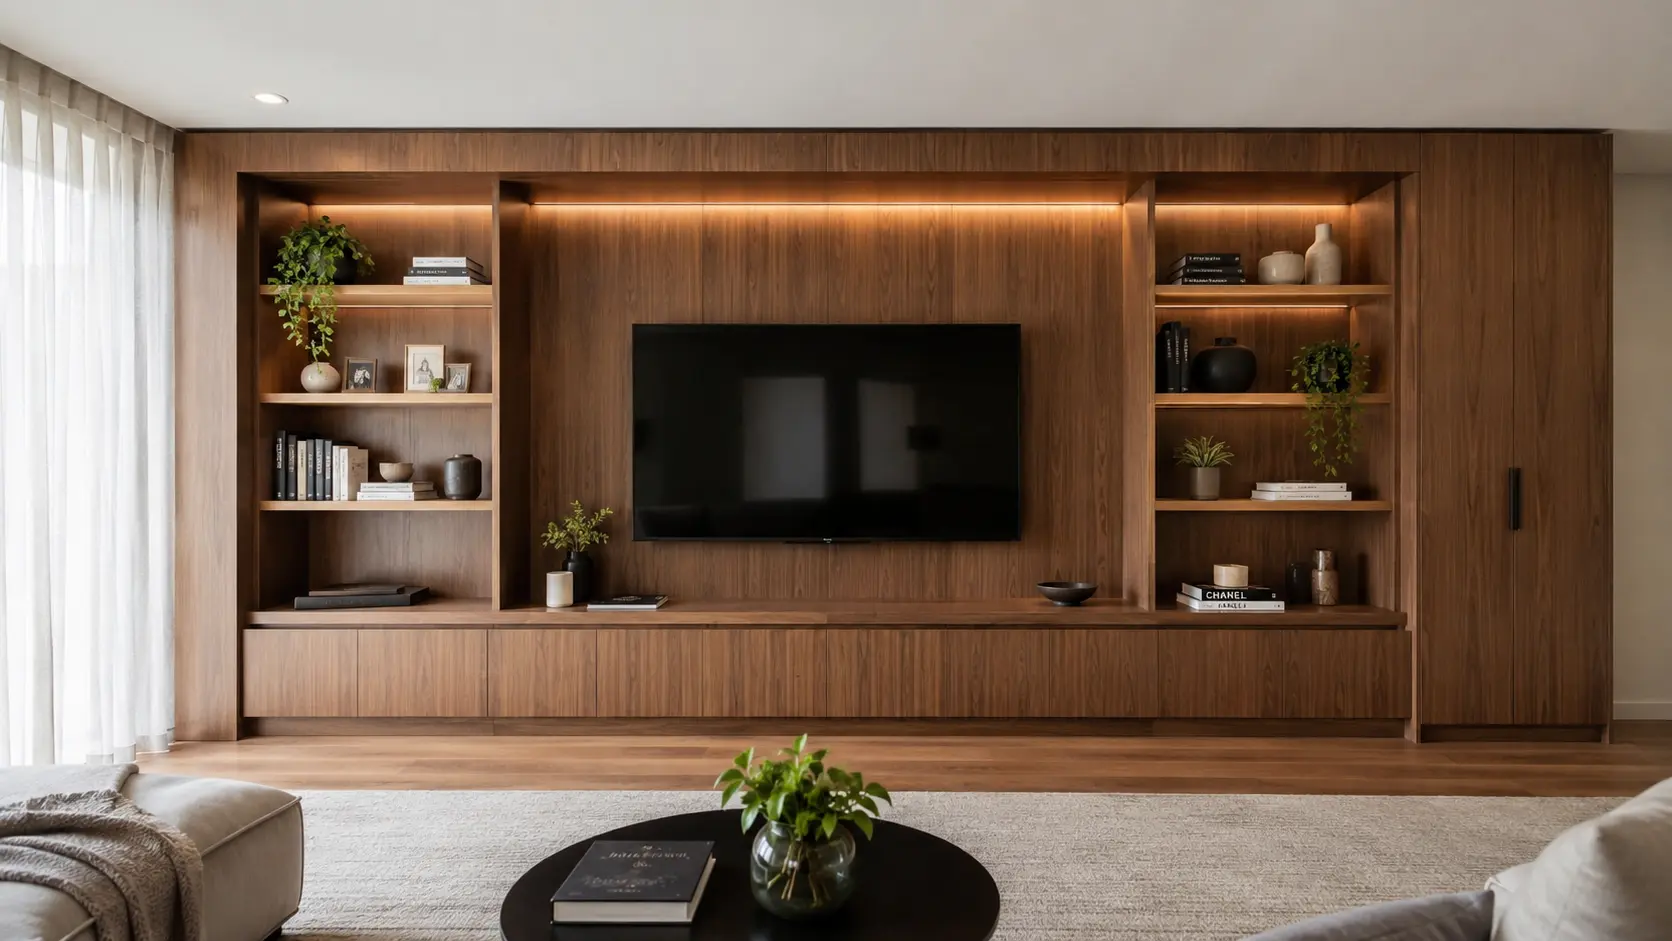
The 2026 approach to integrated entertainment units moves away from the heavy, floor-to-ceiling monolith and towards what designers are calling the “media wall”: a lower-profile design that keeps the TV at eye level from a seated position and uses the surrounding space for a mix of open and closed storage.
A well-structured layout typically includes three zones:
- The TV zone. This is the visual centre. Your TV should sit at a height where the middle of the screen is roughly level with your seated eye line, generally between 100cm and 120cm from the floor to the screen’s centre, depending on your couch height.
- The device zone. Directly below or beside the TV, this section houses all active electronics on ventilated shelves. Louvered doors, wire mesh inserts, or speaker cloth panels allow airflow and prevent the overheating that causes gaming consoles and amplifiers to fail prematurely.
- The storage zone. This covers everything else: books, board games, media collections, and seasonal items. Deep drawers with full-extension runners are more practical than fixed shelves for most households.
Step Three: Plan Your Cable Management Strategy
Nothing undermines a beautiful joinery entertainment unit faster than visible cables. The time to solve cable management is during the design phase, not after installation.
Effective approaches include:
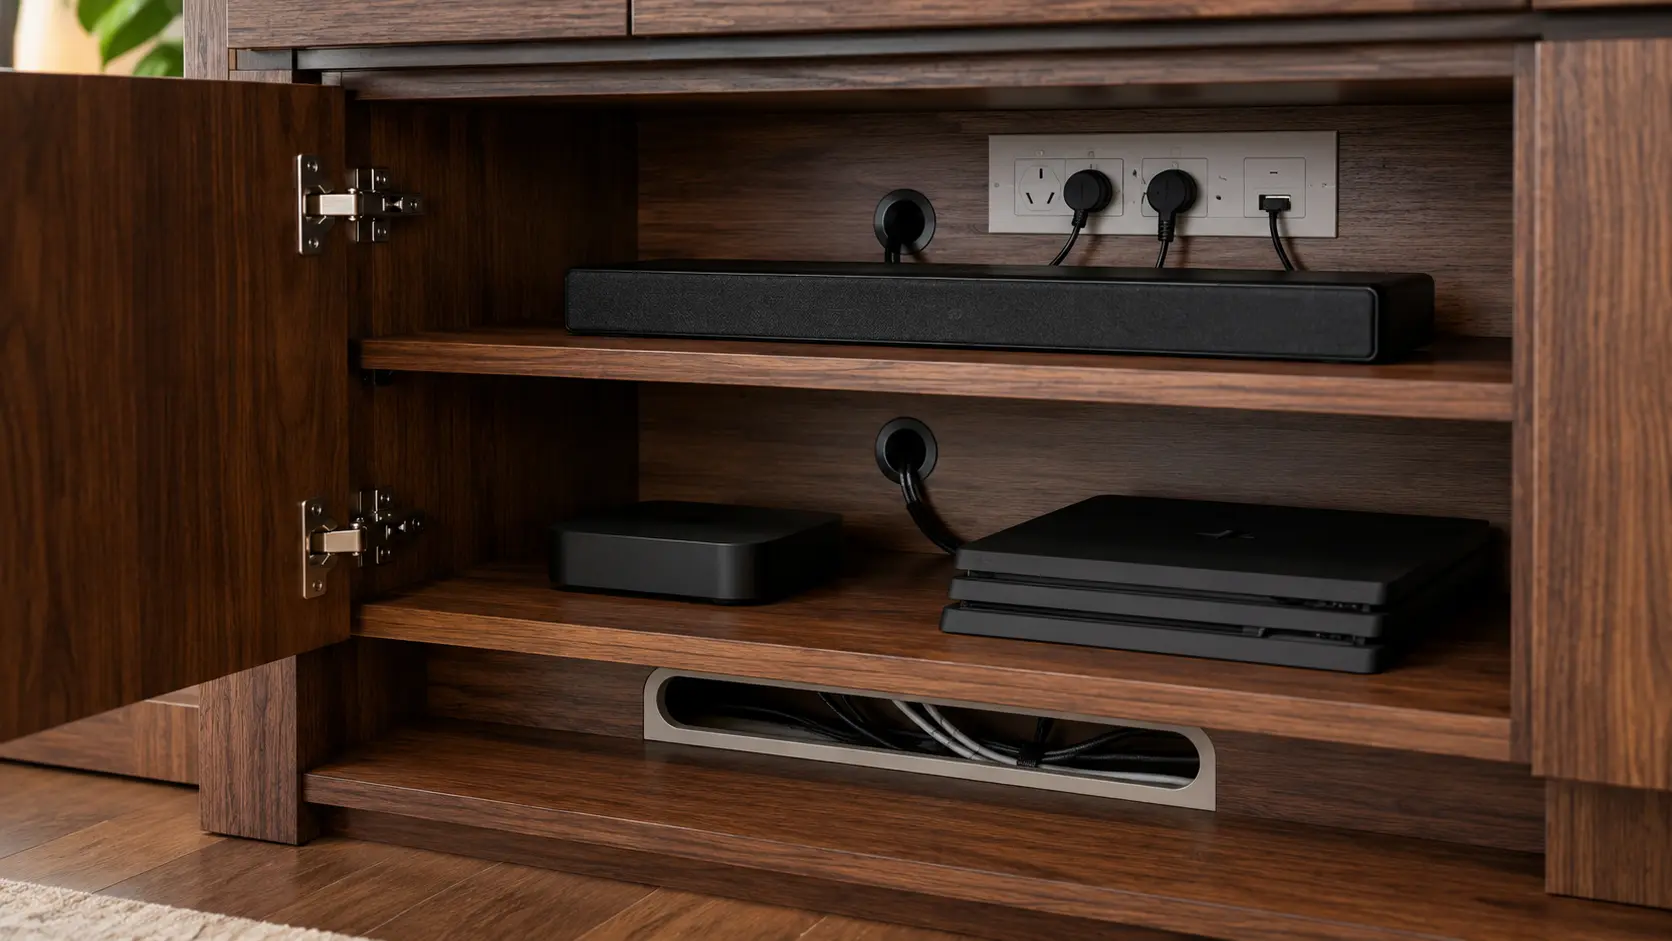
- Recessed power points built into the cabinetry itself, positioned directly behind each device.
- Horizontal cable channels running the width of each shelf, with grommets at the front so cables drop cleanly out of sight.
- A dedicated conduit run from the TV position down through the cabinetry to a hidden hub at the base, where all cables terminate.
- In-wall cable concealment for the TV power and HDMI leads, which eliminates the single most visible cable run entirely.
The ABC News guide to home renovation planning regularly notes that Australians cite cable clutter as one of their top complaints with existing living room setups. Solving it at the design stage costs far less than retrofitting.
Step Four: Select Your Materials and Finish
Material selection determines how the unit wears over time and how it complements the rest of the room. The two most popular choices in 2026 are:
| Material | Best For | Trade-Off |
|---|---|---|
| Walnut veneer | Warm, contemporary rooms | Higher cost; needs careful care |
| White oak veneer | Scandi and coastal aesthetics | Can yellow slightly with UV exposure |
| Painted MDF | Budget builds; high-gloss looks | Shows dents more readily than timber |
| Laminate | Durability; easy cleaning | Less premium appearance |
| Two-tone combinations | Visual interest; zoning effect | Requires precise colour matching |
Hardware choices, handles, hinges, and push-to-open mechanisms, complete the look. Concealed hinges and handleless push-to-open doors suit minimalist modern designs. Brushed brass or matte black handles suit more transitional or coastal aesthetics.
Step Five: Integrate Smart Features for Future Proofing
A custom entertainment cabinetry project is a long-term investment. Build in features that account for how technology and habits will evolve:
- Pull-out laptop trays convert the unit into a workstation when needed, a practical nod to the reality of hybrid work in Australian households.
- USB and wireless charging ports built into drawer faces or shelf surfaces.
- Adjustable shelf pins rather than fixed shelves, so you can reconfigure as device sizes change.
- Conduit for future smart home wiring, even if you are not installing smart systems immediately.
Things to Know
- Built-in units are classified as fixtures in Australian property law, meaning they typically transfer with the home at sale and can contribute to its appraised value.
- The minimum recommended shelf depth for a gaming console or set-top box is 400mm; shallower shelves risk the device overhanging.
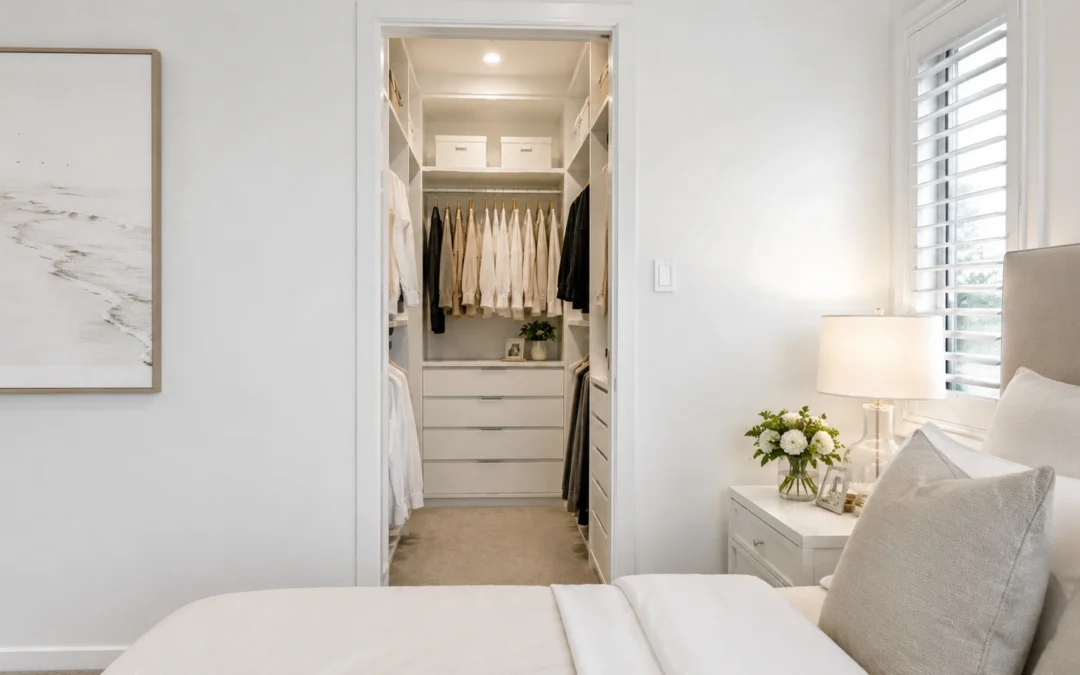
- If you have young children, consider whether your storage design extends to other areas, and the team at Almara Cabinets can also design kids wardrobes to complement your entertainment unit with matching finishes throughout the home.
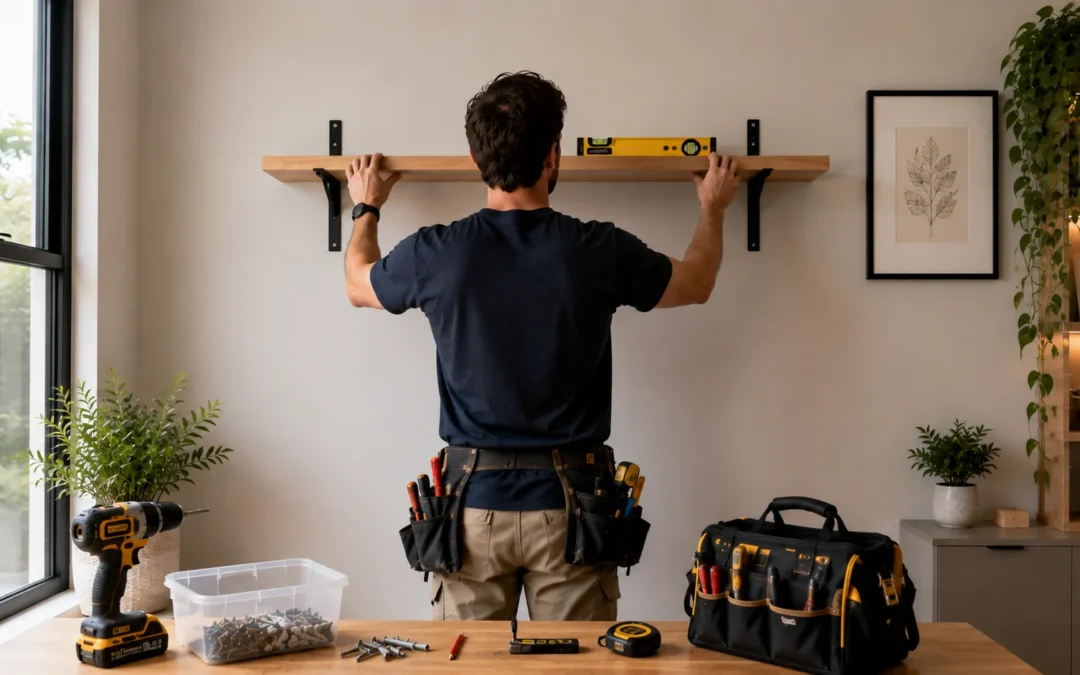
- The TGA regulations do not apply here, but Australian Standards AS/NZS 4600 and AS 1905 govern the structural fixings used to anchor heavy wall units safely.
- LED strip lighting installed inside open shelving adds depth and highlights displayed objects without requiring a sparkling budget.
The Bottom Line on How to Design the Perfect Built-In Entertainment Unit, Step by Step
Getting this right comes down to planning before building: measuring accurately, mapping your functional zones, solving cable management in the design phase, and choosing materials that will wear well over the long term. Every decision made on paper saves time, money, and frustration during installation.
Ready to Build Yours With Expert Support?
Almara Cabinets has completed over 50,000 installs across Melbourne over more than 30 years. The team offers a free design consultation, measure, and quote, so you can see exactly what your built-in entertainment unit will look like before any commitment is made. Call them directly on (03) 9070 5265, read more about their experience and values on their about us page, or contact us online to book your consultation at a time that suits you.
Frequently Asked Questions
Q: How deep should a built-in entertainment unit be?
Standard depth for the TV shelf is 300mm to 400mm, while device shelves should be at least 400mm to 500mm deep.
Shallower shelves can cause devices to overhang, creating both aesthetic and safety issues. If the unit includes a fireplace insert, depth requirements increase significantly depending on the chosen appliance.
Q: How long does it take to design and install a custom entertainment unit?
From initial consultation to installation, most custom built-in media centre projects take between four and eight weeks.
This timeline includes design finalisation, material ordering, manufacturing, and installation. Lead times can extend during peak renovation seasons, so booking early is advisable.
Q: Can a built-in entertainment unit increase my home's resale value?
Yes, a professionally installed custom entertainment unit is generally considered a permanent fixture and can positively influence buyer perception and property value.
Real estate agents across Melbourne frequently note that quality built-ins signal a well-maintained home to prospective buyers, which can support a stronger sale price.
Q: What is the best way to handle ventilation in a closed entertainment cabinet?
Use louvered doors, wire mesh panel inserts, or speaker cloth fronts on any cabinet section that houses active electronics.
You can also install a small, low-noise cabinet fan if you are housing high-performance gaming systems or amplifiers that generate significant heat during use.
Q: How do I match my entertainment unit to the rest of my home's joinery?
The simplest approach is to use the same timber species, finish, and hardware across all joinery in the home, creating a cohesive, custom-built feel.
If an exact match is not possible, choose complementary tones rather than contrasting ones. A cabinetry specialist can provide sample boards so you can compare finishes in your home’s natural light before committing.